
Masonry is celebrated worldwide for its durability, timeless aesthetic, and robust strength. From the classic charm of a brick home to the rustic appeal of a stone wall, these structures are built to last centuries. However, even the toughest materials succumb to the relentless forces of nature, age, and foundation shifts. When cracks appear, a homeowner is often faced with a crucial decision: is this a minor cosmetic fix or a sign of major structural distress? At Blue Collar Clean Up, we specialize in the meticulous art of restoration. Understanding what masonry repair is and knowing the proper techniques for structural restoration are essential for preserving your property’s value, safety, and curb appeal.
This comprehensive article will provide an in-depth look at how to repair cracked masonry walls, detailing the different types of damage, the specific methods for brick and block, and how to repair stone masonry, and the important considerations around professional licensing and foundation health.
Understanding the Enemy: Types of Masonry Cracks
The first step in any repair is diagnosis. A crack is more than just a line; it’s a symptom, and its pattern often reveals its root cause. By correctly identifying the crack type, you can select the appropriate and most durable repair method.
| Crack Type | Description | Common Cause | Repair Solution |
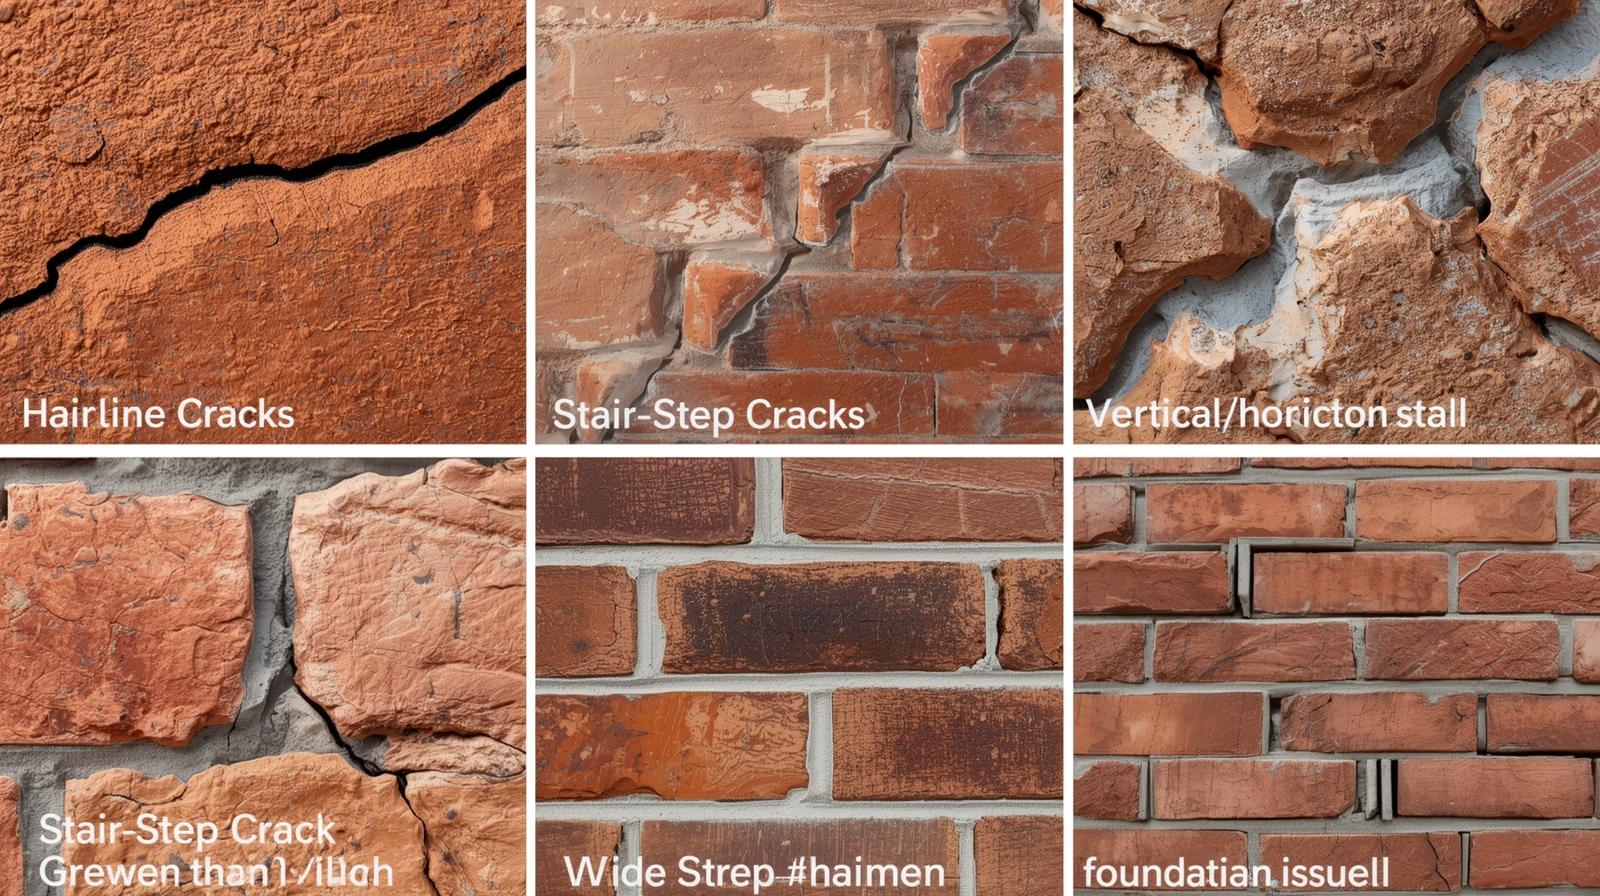
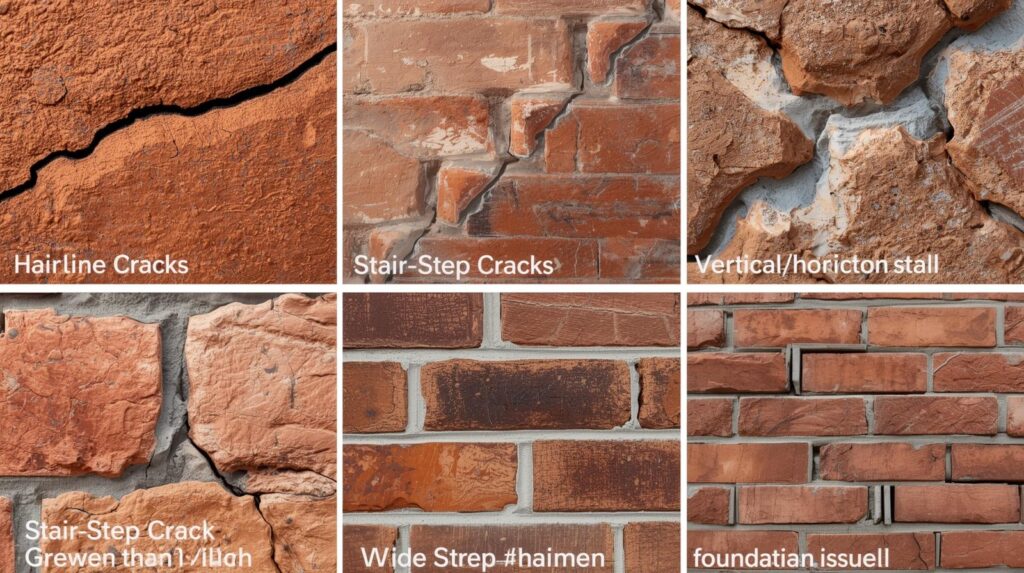
| Hairline Cracks | Fine lines, less than 1/16 inch wide, often in the mortar joints or on the surface of the brick/stone. | Normal curing, minor thermal expansion/contraction, or superficial plaster/paint wear. | Cosmetic filler, flexible sealant, or simple repointing of the mortar joint. |
| Stair-Step Cracks | Follow the mortar joints diagonally up or down in a zig-zag pattern, most common in block and brick walls. | Differential settling of the foundation, inadequate wall ties, or excessive pressure on the wall (bowing). | Repointing and replacing loose units. For active cracks, Crack Stitching (helical bars) is required. |
| Vertical/Horizontal Cracks | Run straight up/down or across. Vertical cracks can be due to expansion; horizontal often indicate severe structural pressure or bowing (especially in foundations). | Thermal expansion/contraction, movement of lintels over openings, or major lateral (side) pressure on the wall. | Structural reinforcement (e.g., I-beams or carbon fiber for foundation), crack stitching, or rebuilding the affected section. |
| Cracks > 1/4″ and Widening | Large cracks where the masonry units are visibly offset or displaced, and the crack grows over time (active). | Serious foundation movement, severe structural failure, or tree root encroachment. | Requires immediate assessment by a structural engineer, potentially followed by underpinning or full section rebuild. |
Detailed Steps on How to Repair Cracked Masonry Walls
Repairing cracked masonry is a craft that requires precision, patience, and the right materials. For minor, non-structural cracks, a skilled homeowner may be able to handle the repair, but for any crack wider than a pencil, consulting a professional who provides masonry services is strongly recommended.
1. The Essential Technique: Repointing (Tuckpointing)
Repointing is the process of replacing deteriorated or cracked mortar joints and is the most common answer to how to repair masonry walls when the crack follows the mortar line (stair-step or thin horizontal cracks).
- Preparation and Removal: The first step is to carefully remove the old, loose, or cracked mortar. This is typically done using a grinder with a masonry wheel, a mortar rake, or a cold chisel and hammer. The removal depth should be consistent, often 2 to 2.5 times the width of the joint, but usually not exceeding 1 to 1.5 inches deep to maintain the wall’s structural integrity. Once the old mortar is removed, the joint must be thoroughly cleaned with a wire brush and rinsed to remove all dust, as the new mortar requires a clean, slightly damp surface for proper adherence.
- Mortar Matching: A Critical Step: Matching the new mortar to the original is paramount for both aesthetic continuity and structural compatibility. Critically, the new mortar must be softer or of the same strength as the existing mortar and the masonry units (brick/stone). Using a mortar that is significantly harder than the original can cause the surrounding, softer masonry units to crack under thermal expansion and contraction, transferring all stress to the brick or stone itself rather than allowing the mortar joint to absorb the movement.
- Application Process: Dampen the joint again just before application. Using a pointing trowel or a grout bag, firmly pack the new mortar into the joint. This should be done in thin layers (approximately 1/4 inch thick), ensuring that each layer is packed tightly to eliminate all air pockets. The objective is to achieve a dense, void-free repair.
- Finishing (Tooling): After the mortar has been applied and has had time to stiffen (typically 30 minutes to an hour, depending on temperature and humidity), the joint is “tooled.” This involves using a jointing tool (like a concave jointer or V-jointer) to compress the mortar and shape it to match the profile of the original joints. Compressing the mortar provides a tighter, more weather-resistant seal. Finally, gently brush the surface with a soft brush to remove any excess mortar smear from the face of the masonry units.
- Curing and Protection: The curing phase is vital for strength and longevity. The new mortar must be kept damp for several days (usually 3 to 7 days). This is achieved by lightly misting the repaired area with water multiple times a day, particularly in warm or windy weather, or by covering the area with plastic sheeting to retain moisture. Premature drying leads to a weak, crumbly joint.
2. Reinforcing Structural Damage: Crack Stitching
For active or larger stair-step cracks, where the wall is experiencing ongoing differential movement—a simple repointing is a temporary fix. How to repair cracked masonry walls that are actively moving often requires crack stitching to restore the wall’s tensile strength and tie the separated sections back together.
- The Helical Bar System: This method involves embedding specialized stainless steel helical bars (threaded rods) across the crack in the horizontal mortar joints. These bars are flexible enough to accommodate natural thermal movement but strong enough to resist lateral movement, effectively restoring the wall’s structural unity.
- Installation Procedure: Horizontal slots (usually about 3/8 inch wide) are cut into the mortar joints, extending at least 20 inches (500mm) on either side of the vertical crack. The slots are thoroughly cleaned and then partially filled with a high-strength, non-shrink, cementitious grout. The helical bar is then pushed into the grout until fully embedded, and a final layer of grout is applied over the top to fully encapsulate the bar. The slot is then finished with repointing mortar to seamlessly blend with the wall.
3. Repairing Stone Masonry and Filling Holes
Repairing stone masonry, whether it’s an exterior wall or addressing the necessary steps for how to repair masonry steps, demands a sensitive approach due to the irregular shapes and unique composition of stone units.
- Cracks in the Stone Itself: For cracks running through the stone, the repair often involves meticulous cleaning and then filling the crack with a colored vinyl concrete patcher or a two-part epoxy. The key here is to find a material that matches the stone’s color, texture, and, importantly, its permeability, ensuring moisture can still move through the material.
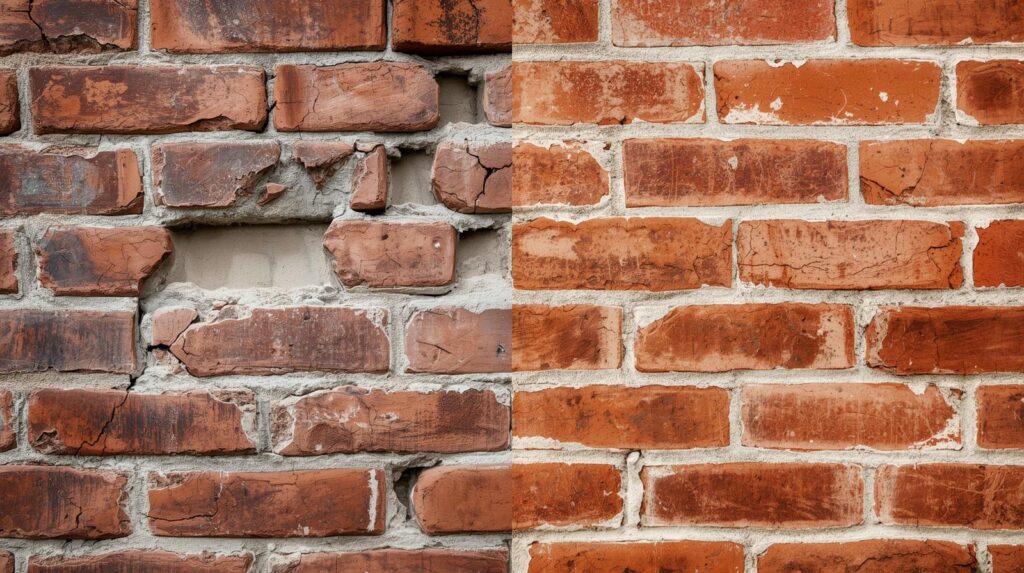
- Addressing Voids and Holes: The question of how to repair a hole in a masonry wall starts with preparation. The hole must be cleaned of all loose debris. For smaller holes, a repair mortar or patching material can be packed firmly into the void in successive layers. For a larger or severely damaged unit, the preferred method is to “cut out” the damaged stone or brick entirely, then replace it with a new matching unit (a “dutchman” repair for stone) set in fresh mortar, carefully matching the surrounding texture and joint profile.
The Professional Aspect: Licensing, Foundation, and Cost
When a repair moves beyond cosmetic work, when the wall is moving, bowing, or threatening structural integrity, a professional is a necessity. Here is what you need to know about professional services:
Are Masonry Repair People Licensed?
The query about whether masonry repair people are licensed is a crucial consideration for any major project. For professional and structural work, the answer is usually yes. Licensing requirements for masons and contractors vary widely by state, county, and municipality. However, any contractor performing significant repair work (often defined as a project costing over a low threshold, like $500 or $1,000) must typically be a licensed general contractor or a licensed specialty contractor in masonry. A licensed masonry contractor has generally demonstrated several years of relevant experience, passed a trade and business-law exam, and fulfilled essential bonding and insurance requirements. Always verify their credentials and liability insurance before commencement of work.
Does Masonry Repair Foundation?
Yes, the topic of a masonry repair foundation is deeply interconnected. Many structural issues that originate in the foundation, such as settlement, shifting soil, or water damage, first manifest as cracks in the above-grade masonry walls. Stair-step cracks in the brick veneer or block walls are the most common indicator of foundation settlement or movement.
- Foundation Stabilization Connection: While a pure masonry repair person may not perform full-scale foundation underpinning (a specialist foundation contractor’s job), they are often the first line of defense. They repair the physical damage to the wall, which is vital for preventing water intrusion and further structural compromise. Furthermore, they may install reinforcement methods like carbon fiber straps or steel I-beams on interior basement walls to address bowing, a common foundation issue. For comprehensive solutions, they often work in partnership with structural engineers to ensure the root cause of the foundation movement is addressed before the masonry is restored.
How Much is Residential Masonry Repair?
The question of how much is residential masonry repair costs has a wide range of answers, as the cost is highly dependent on the type of damage, the materials involved (brick vs. natural stone), and the required labor. Labor costs are typically the largest portion of the budget, often accounting for 60% to 75% of the total project price. The table below offers an estimated cost breakdown based on common residential projects.
| Project Type | Estimated Cost Range (Average) | Typical Basis | Scope of Work |
| Minor Spot Repointing | $500 – $2,500 | Project minimum of $3 – $25 per sq. ft. | Small, isolated areas of failing mortar joints (e.g., chimney corner, small wall section). |
| Brick Wall Repointing (Full Face) | $10 – $35 per square foot | Square Footage | Comprehensive removal and replacement of all mortar joints on a significant portion of a wall. |
| Structural/Crack Stitching Repair | $20 – $50+ per square foot | Square Footage + Materials | Advanced work, including helical bar installation, significant unit replacement, and necessary reinforcement. |
| Chimney Restoration (Repointing & Cap) | $1,500 – $4,500 | Per Chimney | Full mortar repair, replacement of damaged bricks, and installation of a new concrete or metal cap. |
| Brick Steps Repair/Rebuild | $300 – $750 per step or40−40−80/sq. ft. | Per Step or Square Footage | Filling loose mortar, replacing loose/damaged treads and risers, or a complete tear-down and rebuild. |
| Foundation Crack Repair (Injection) | $250 – $800 per crack | Per Crack | Injecting epoxy or polyurethane into a single, non-structural foundation crack to seal against water. |
Note: These ranges are national averages and are for estimation purposes only. Local market conditions, the complexity of the masonry work, and the specific materials (historic vs. modern) will significantly impact the final quote. Always consult with a licensed local professional for an accurate, on-site assessment.
Conclusion and Next Steps
Addressing cracked masonry walls is a critical component of responsible home maintenance. From simple hairline cracks requiring a bit of mortar patching to significant stair-step cracks that signal deep-seated foundation issues, a precise diagnosis is the only foundation for a lasting repair. Understanding the detailed techniques of repointing and crack stitching provides you with the knowledge needed to approach any project, whether you are tackling a minor DIY repair or seeking professional assistance for structural concerns.
Don’t ignore the early warning signs of wall damage. Allowing minor deterioration to compound can lead to vastly more expensive structural failure down the road. If you are noticing any cracks, bowing, or widespread crumbling mortar on your property, it is time to consult an expert. For reliable and licensed masonry repair services and to get an accurate estimate tailored to your property’s needs, we encourage you to contact Blue Collar Clean Up today. Learn about our commitment to quality craftsmanship and ensure your masonry stands strong for generations to come.

